How to Build a Raised Garden Bed in Your Backyard
So, you want to grow some amazing plants, but your backyard dirt has more rocks than a quarry. I completely get it. Building a raised garden bed is your ticket to gardening glory, bypassing all those sandy, clay, or rocky woes. Your back will thank you, and your plants will flourish beyond your wildest dreams.
Why a Raised Garden Bed Rocks (Pun Intended)
You might wonder, why go through all the trouble? Let me tell you, the benefits are practically endless. Raised beds give you control over your soil, make weeding a breeze, and even extend your growing season. Imagine harvesting fresh vegetables when your neighbors’ gardens are just starting to sprout.
I built my first raised bed about ten years ago after battling compacted clay soil for too long. My tomatoes always looked sickly, and my carrots resembled tiny, gnarled fingers. The moment I filled that bed with rich, fluffy soil, my gardening life changed forever. Now, I have more basil than an Italian restaurant and peppers producing all summer long.
You avoid soil compaction issues since you never walk on the bed. This means roots grow freely, and your plants receive excellent aeration. Plus, drainage improves, preventing root rot, which is a plant killer you want to avoid.
Better Soil, Better Plants
You can create the perfect soil mix for whatever you want to grow. No more hoping your garden plot has the right pH or nutrients. You literally build it from the ground up.
My secret concoction usually involves a mix of good quality topsoil, compost, and a bit of perlite for drainage. Your plants will think they are on vacation in a five-star resort.
Easier on Your Back and Knees
Nobody wants a sore back after a day in the garden. Raised beds bring the work up to your level. You can sit on the edge to weed or harvest, making gardening accessible for everyone.
My grandmother, who is a spry 85, still tends her raised flower beds with ease. She says it lets her enjoy her passion without the aches and pains she used to get from a ground-level garden. I see her point plainly.
Choosing Your Raised Bed Location
Picking the right spot is like choosing your retirement home. Location, location, location. Sunlight is the number one factor you will consider. Most vegetables and flowers need at least six to eight hours of direct sunlight every day.
Walk around your yard at different times of the day. Observe how the sun moves. That big oak tree might give nice shade for your porch, but it will doom your tomatoes.
Consider proximity to a water source. Dragging a hose across your entire yard gets old fast. A nearby spigot saves you time, effort, and possibly a lot of cursing.
Also, think about convenience. Will it be easy to get to your bed for daily watering and harvesting? You are more likely to tend to it if it is not hidden in a forgotten corner of your yard.
Sunlight is King
If you want lush, productive plants, you need sunshine. Shade is for napping, not for growing most edibles.
I once put a small herb bed in a spot that got only four hours of sun. The basil looked like it was perpetually giving up on life. Trust me on this one; more sun is almost always better.
Water, Water Everywhere
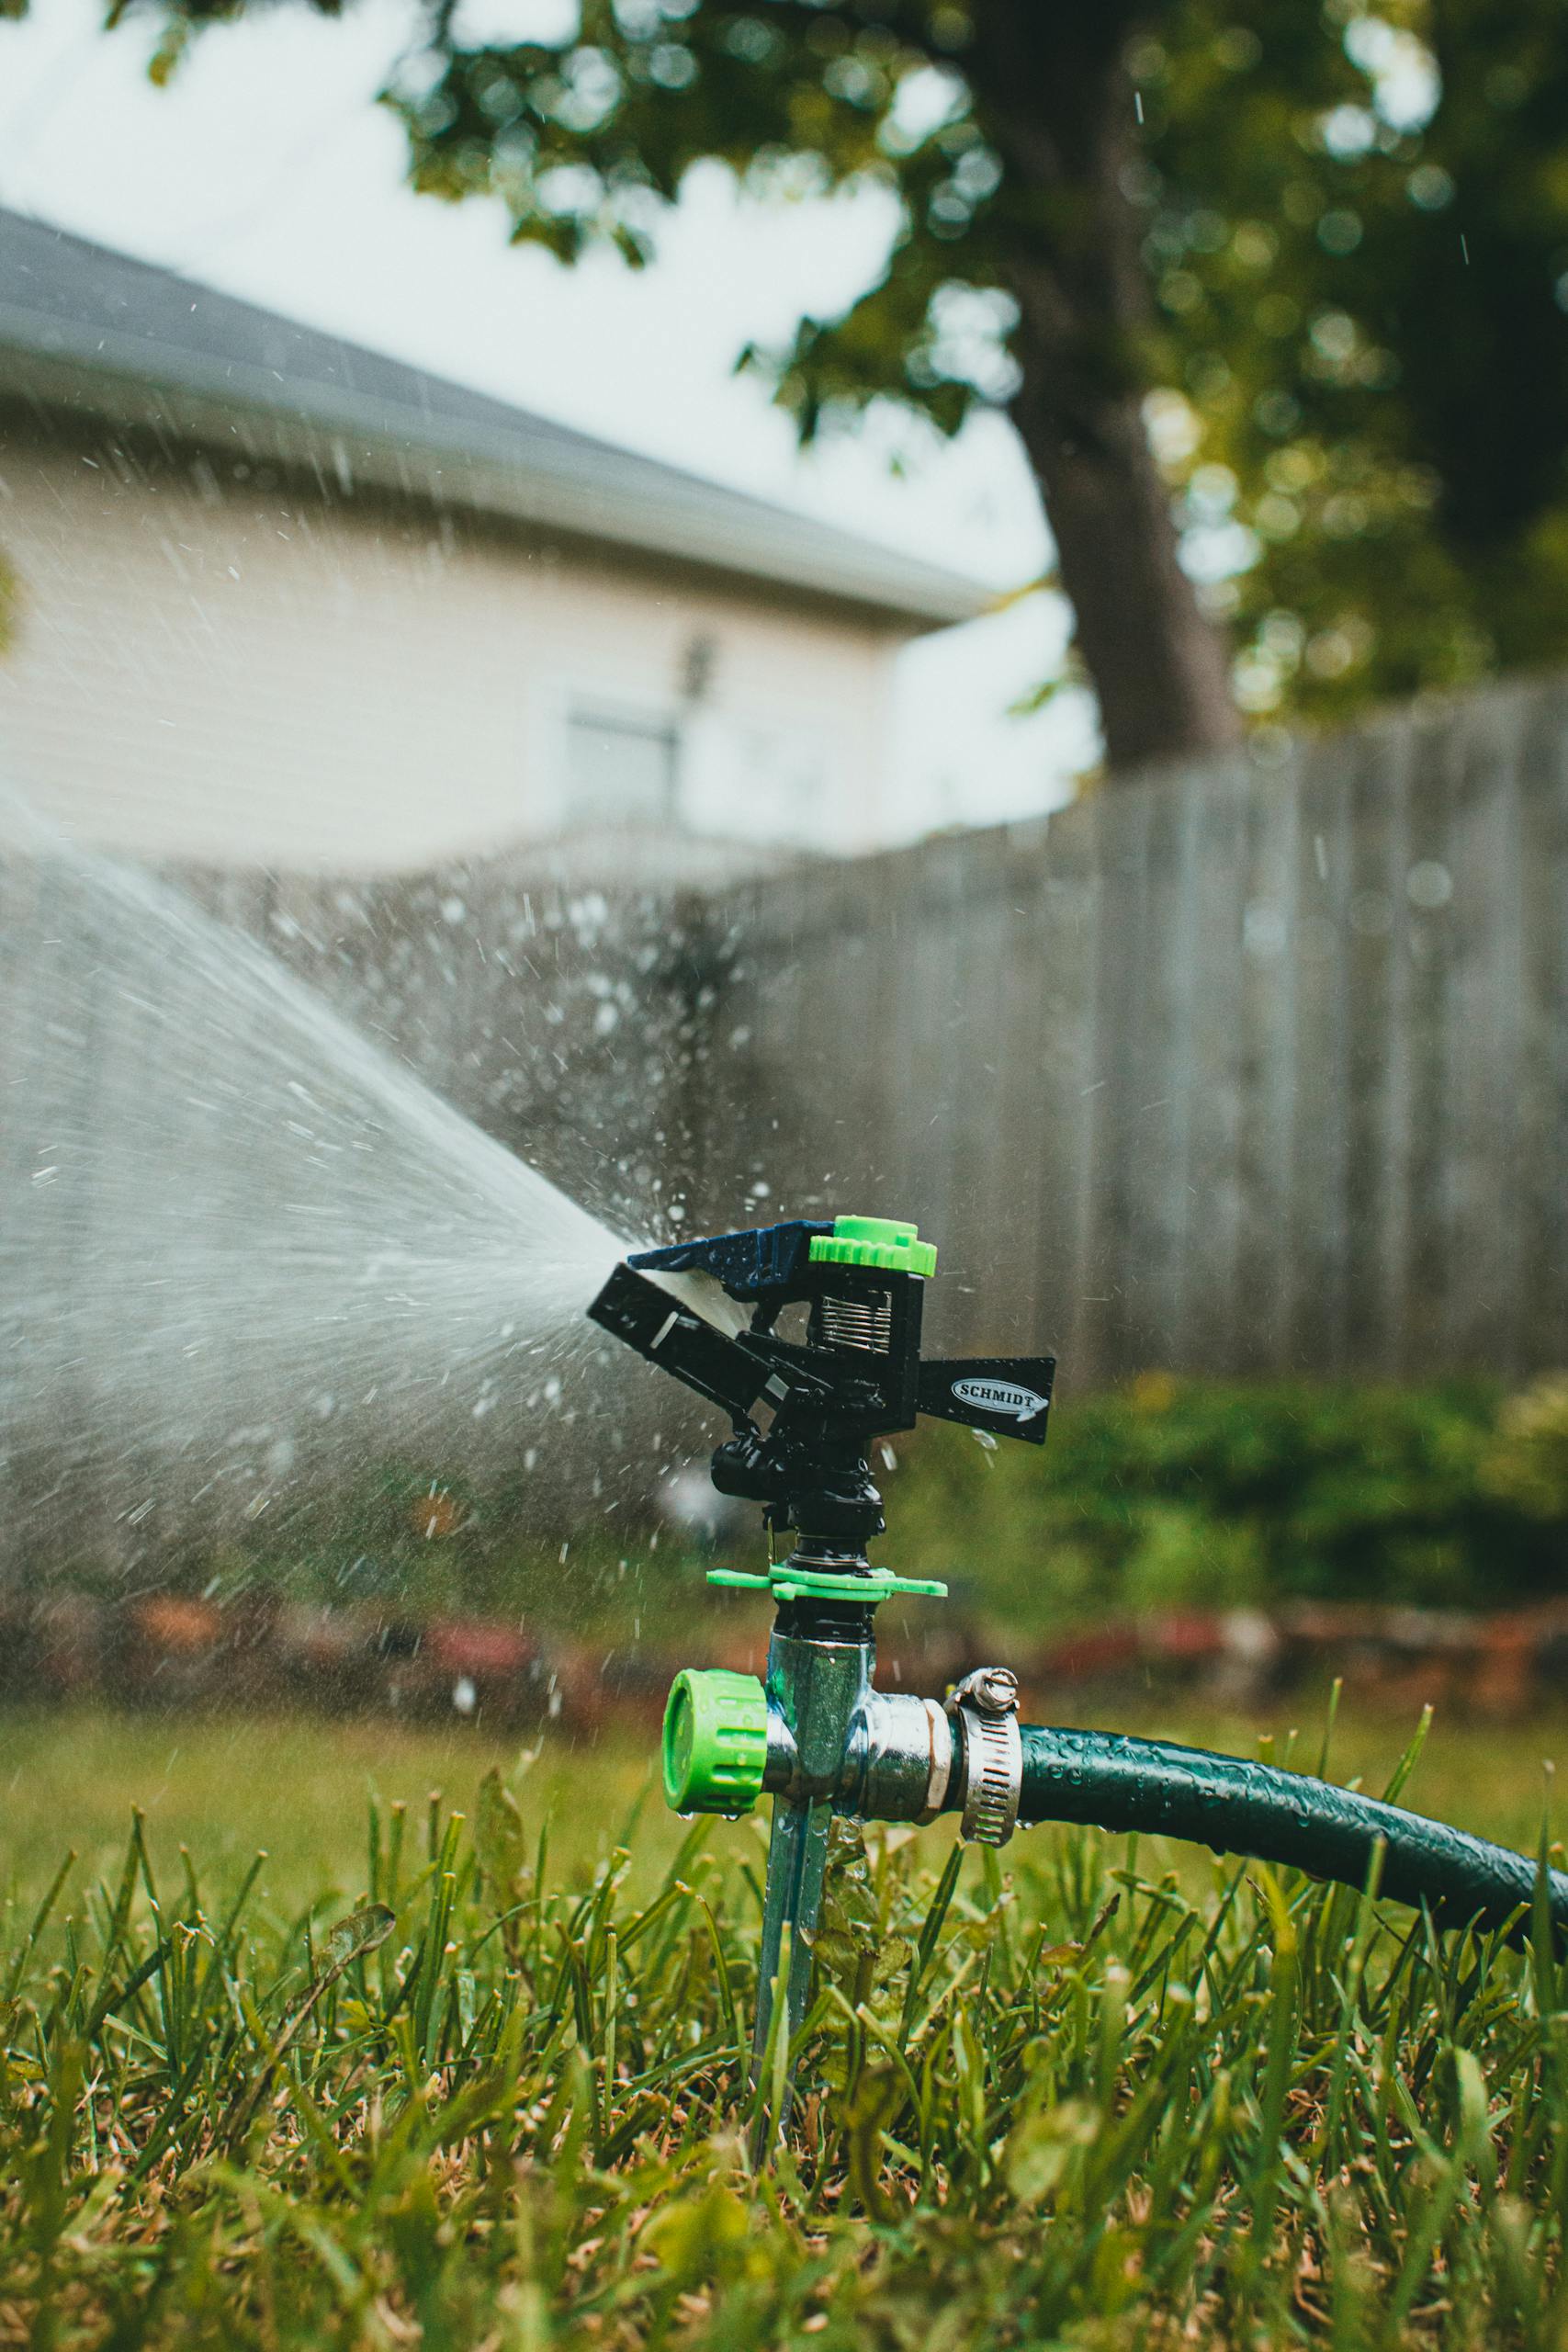
You will water your raised garden bed more frequently than a traditional inground garden, especially in hot weather. Good drainage is part of the raised bed’s appeal, but it also means water moves through faster.
A simple drip irrigation system or a soaker hose will be your best friend. Set it and forget it, mostly. Your plants will get a consistent drink, and you will save your energy for relaxing.
Materials for Your Raised Garden Bed
The materials you choose impact durability, aesthetics, and your wallet. You have plenty of options, each with its own pros and cons. Think about what will last in your climate and what looks good in your space.
Wood: The Classic Choice

Wood is perhaps the most popular material for raised beds. It is readily available, relatively inexpensive, and easy to work with. However, not all wood is created equal.
- Cedar: This is my top pick. Cedar is naturally rot-resistant and lasts a very long time without any chemical treatment. It smells fantastic too, which is a bonus. It costs more upfront, but its longevity makes it a smart investment. I have cedar beds that are over fifteen years old and still strong.
- Redwood: Similar to cedar in rot resistance and price. If you can find it sustainably sourced, it is an excellent option.
- Cypress: Another good, rot-resistant wood. Often a little more affordable than cedar or redwood.
- Pine or Fir: These are cheaper initially, but they rot much faster unless treated. If you use treated lumber, make sure it is rated for ground contact and approved for organic gardening. Some older treated woods contained arsenic, which you do not want leaching into your vegetables. Modern ACQ (Alkaline Copper Quaternary) treated lumber is generally considered safe.
I always recommend avoiding pressure-treated wood unless you are absolutely sure it is safe for food crops. Why take the chance when natural options like cedar exist?
Other Material Options
You are not limited to just wood. Many other materials perform well and offer different looks.
- Stone or Concrete Block: Very durable and permanent. These can be beautiful, but they require more effort to install, and they are not easy to move. They also absorb heat, which can be an advantage in cooler climates but a disadvantage in hot ones.
- Metal (Corrugated Galvanized Steel): Becoming increasingly popular. Metal beds are long-lasting, lightweight, and offer a modern aesthetic. They often come in kits, making assembly simple. Just be aware that metal can heat up quickly in direct sun, potentially warming the soil more than wood or stone.
- Plastic/Composite Lumber: These are made from recycled plastics and wood fibers. They are extremely durable, rot-proof, and maintenance-free. They are more expensive than most wood options but last forever. Some people find the plastic look less appealing than natural wood.
Planning and Design
Before you grab your tools, sketch out your design. Think about the dimensions that work best for you and your space. Common dimensions are four feet by eight feet, but you choose what fits.
Dimensions That Work
I find a width of no more than four feet ideal. This allows you to reach the center of the bed from either side without stepping on the soil. My back appreciates this immensely.
The length is up to you and how much space you have. Eight to twelve feet is common, but you build smaller or larger. My largest bed is twelve feet long, and it gives me a massive yield.
Depth matters too. A depth of at least ten to twelve inches works for most plants. For root vegetables like carrots, eighteen to twenty-four inches gives them plenty of room to grow without hitting the bottom.
| Dimension | Recommendation | Why? |
|---|---|---|
| Width | Maximum 4 feet | Easy access from both sides; no stepping on soil. |
| Length | Variable (e.g., 8-12 feet) | Depends on available space and desired planting area. |
| Depth | 10-12 inches (minimum); 18-24 inches for root vegetables | Sufficient root growth for most plants; better drainage. |
Tools You Will Need
Gather your arsenal before you begin. A little preparation saves you multiple trips to the hardware store.
- Measuring tape
- Spirit level
- Saw (circular saw or miter saw works great)
- Drill
- Screws (deck screws are good for outdoor use)
- Shovel and rake
- Wheelbarrow (optional, but very helpful for moving soil)
- Staple gun (for lining, if desired)
Step-by-Step Construction Guide
Let us get down to business. This is where your garden dream starts to take shape. I promise, it is not as hard as it looks.
Step 1: Prepare the Site
Clear the area where your raised bed will go. Remove any grass, weeds, or debris. You want a flat, level surface.
If you have persistent weeds, I recommend laying down a layer of cardboard on the bottom. Cardboard helps suppress weeds naturally and breaks down over time, adding organic matter to your bed. Just remove any tape or labels first.
Do not use landscape fabric on the bottom. It eventually breaks down, becoming a tangled mess in your soil, and it limits drainage over time.
Step 2: Cut Your Materials
Based on your chosen dimensions, cut your wood or other material. For a four-foot by eight-foot bed that is twelve inches deep, you will need:
- Two pieces of material at eight feet long (for the long sides)
- Two pieces of material at four feet long (for the short sides)
- Cut extra pieces if you are stacking layers for a deeper bed.
If you are making a two-foot deep bed with six-inch boards, you will need two layers of boards. That means four eight-foot pieces and four four-foot pieces.
Step 3: Assemble the Frame
Lay out your cut pieces. Form your rectangle. This is where your spirit level becomes your best friend. You want straight lines and level corners. If the ground is not perfectly level, do your best to make the frame level by slightly digging or adding soil beneath it.
Join the corners. You can use corner brackets, but I often just drill pilot holes and use long deck screws. Two screws per corner for each board works well. For very long beds, you might add a brace in the middle of the long side to prevent bowing once it is full of soil.
If you are building a deeper bed with stacked layers, assemble the first layer. Then, place the second layer on top, offsetting the corners slightly for more stability, and screw them together. You can also drive rebar stakes into the ground through the corners for extra reinforcement.
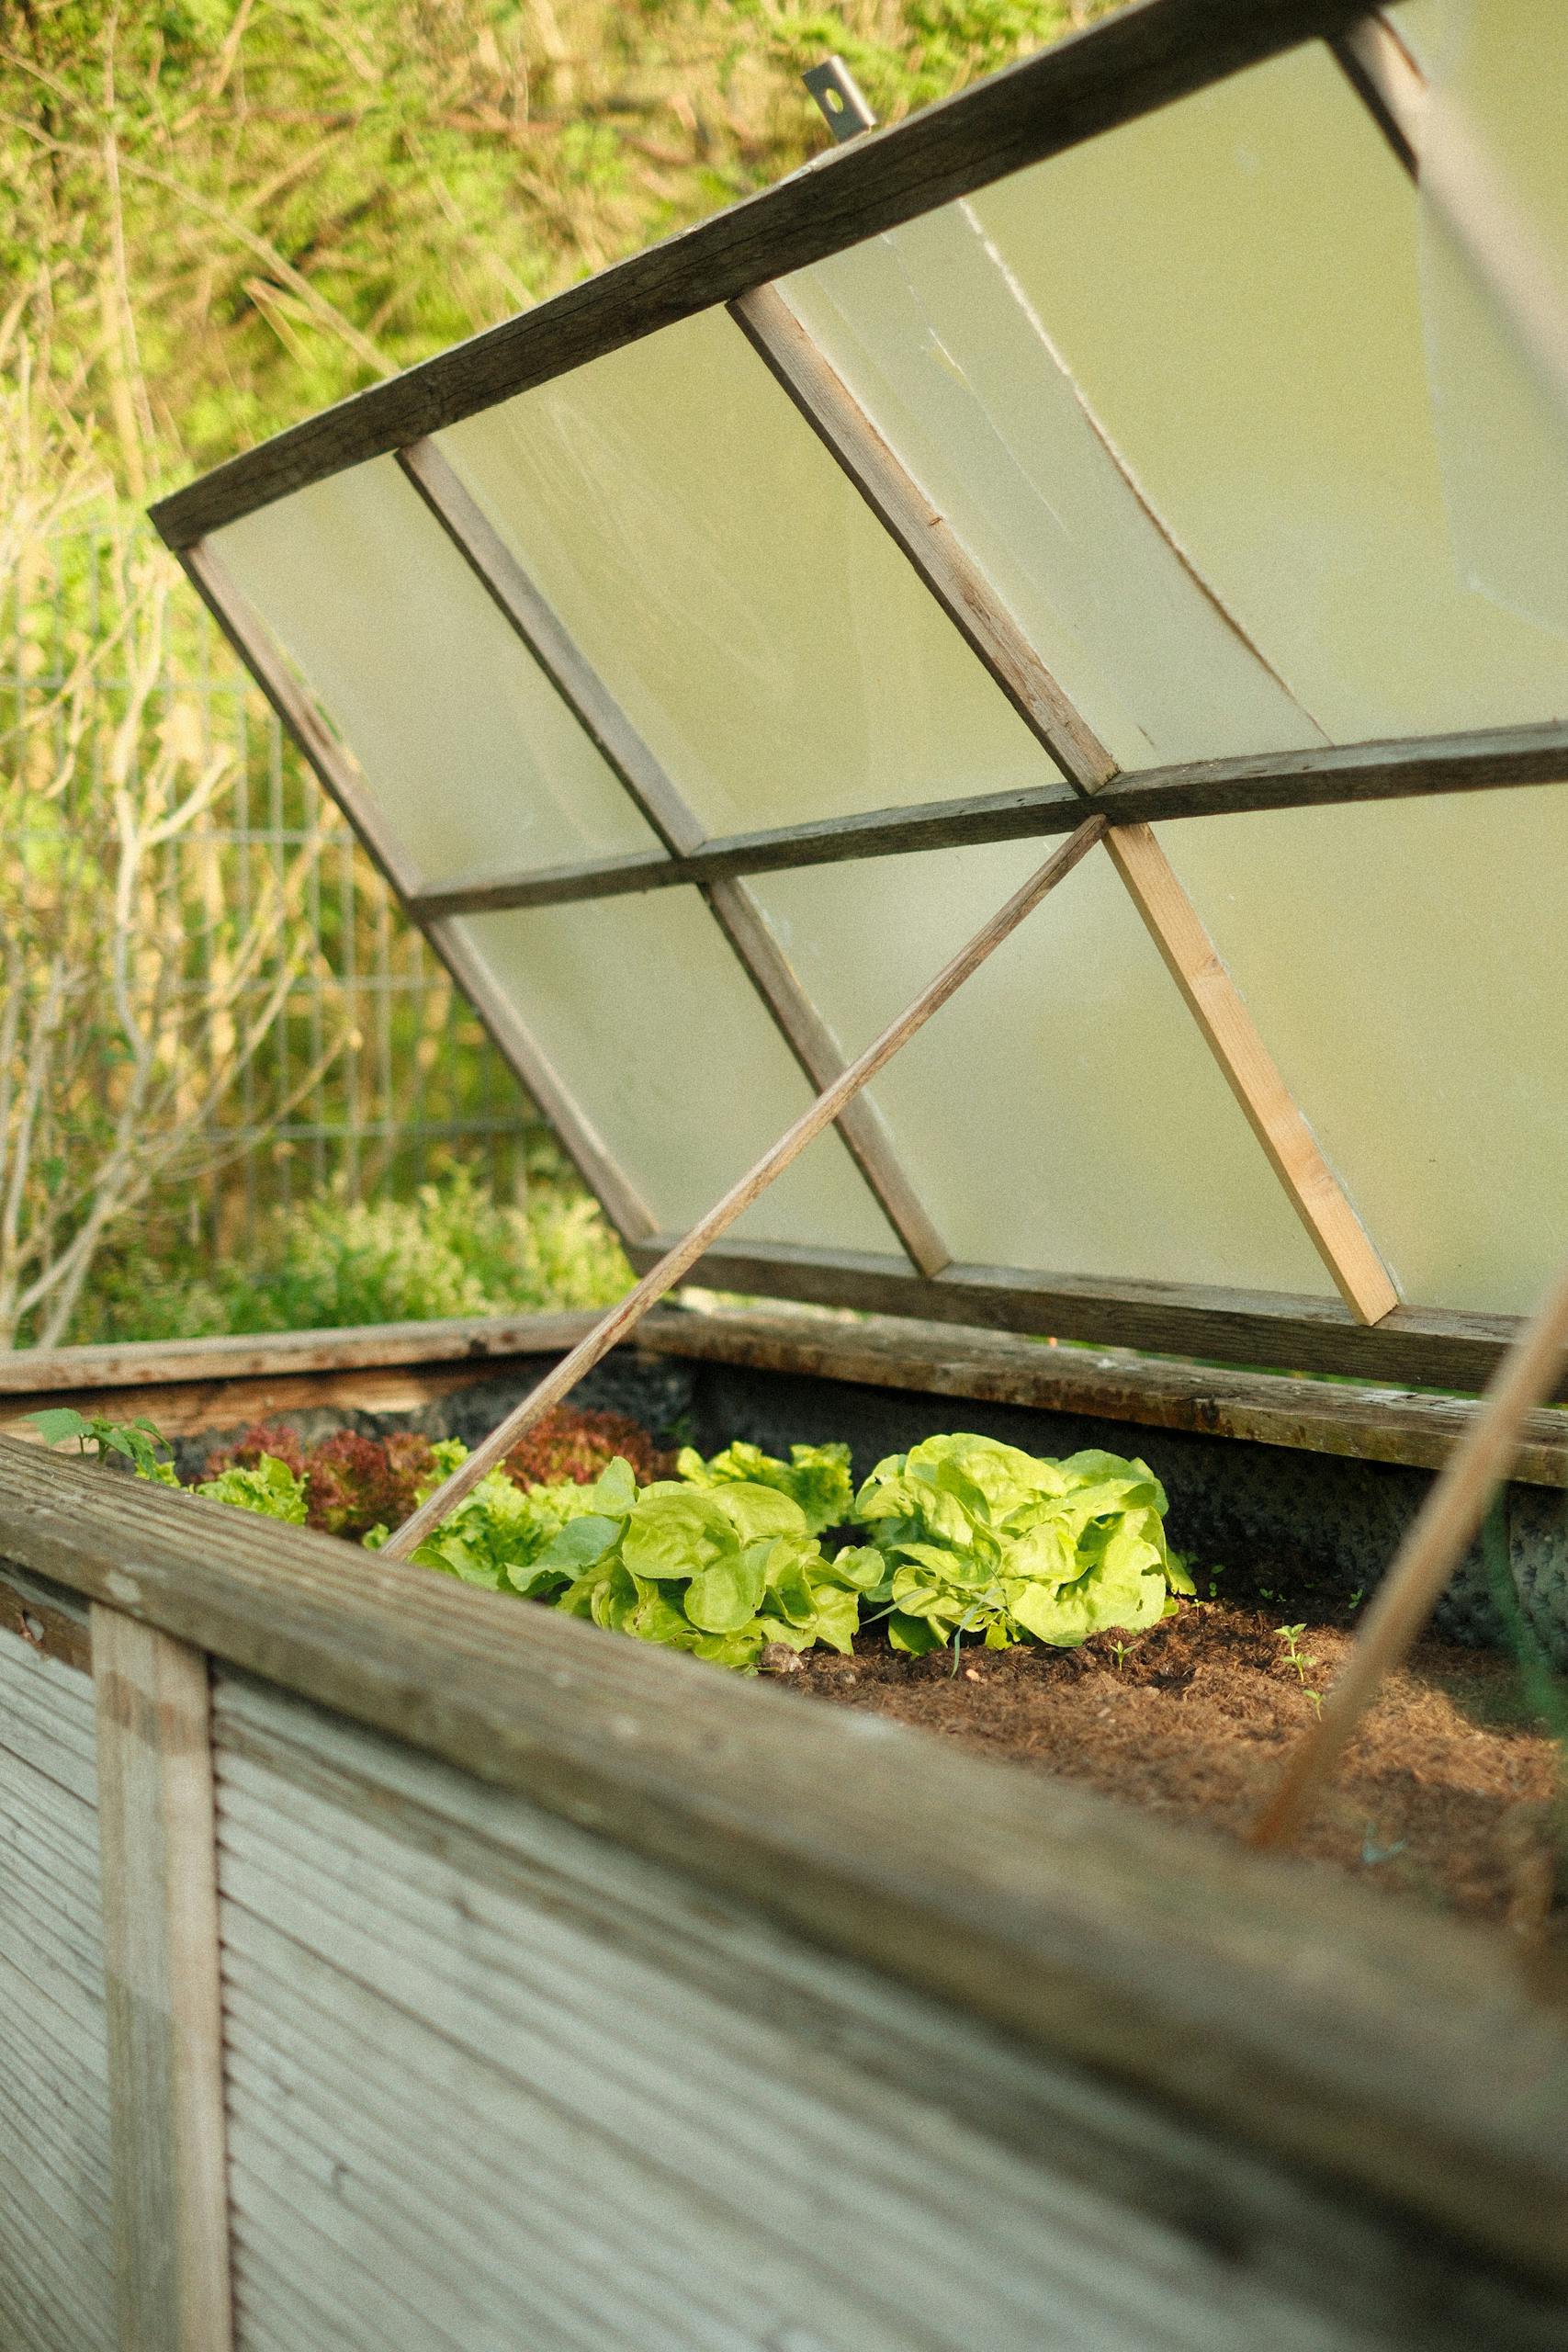
Step 4: Line the Bed (Optional, but Recommended)
Some people line their beds with hardware cloth (wire mesh with small openings) to deter burrowing pests like gophers or voles. If you have these critters, this step is practically mandatory. Staple the hardware cloth to the bottom edges of the frame.
Filling Your Raised Garden Bed
Now the fun begins. Filling your raised garden bed is like building a lasagna. Layers are key for good drainage, aeration, and fertility.
Do not just dump a bunch of topsoil in there and call it a day. You have an opportunity to create the ideal growing environment.
The “Lasagna Garden” Method
I am a big fan of the lasagna method for filling raised beds. It uses organic materials, breaks down over time, and feeds your plants. Plus, it is cheaper than buying all commercial soil mixes.
- Bottom Layer (Coarse Material): Start with a layer of coarser materials for drainage and to fill space. This could be small logs (not treated), thick branches, wood chips, or even inverted sod (grass side down). I often just throw in any fallen branches I have from pruning.
- Brown Materials: Add a layer of “browns.” This includes dried leaves, straw, shredded paper (plain, non-glossy), or sawdust. These provide carbon.
- Green Materials: Next, a layer of “greens.” This means grass clippings (untreated), kitchen scraps (no meat or dairy), coffee grounds, or fresh plant trimmings. These provide nitrogen.
- Compost/Topsoil: Alternate layers of browns and greens. After a few layers, add some finished compost or a good quality topsoil.
- Final Layer (Growing Medium): The top six to twelve inches of your bed should be premium growing medium. A good mix is 50 percent high-quality topsoil, 30 percent compost, and 20 percent perlite or vermiculite for aeration and moisture retention.
Water each layer as you build it. This helps with decomposition and settling. Your bed will likely settle some over the first few weeks, so do not be alarmed if the soil level drops a bit.
I collect fallen leaves every autumn specifically for my raised beds. They are an amazing, free resource. My neighbors probably think I am a little crazy with my leaf piles, but my garden loves it.
Planting and Maintenance
Your bed is built and filled. Now, you get to put the plants in it. This is the reward for all your hard work.
What to Plant

You can grow almost anything in a raised bed. Consider what you eat and what grows well in your climate.
- Vegetables: Tomatoes, peppers, lettuce, spinach, carrots, radishes, bush beans, herbs like basil and cilantro.
- Flowers: Marigolds (great pest deterrent), zinnias, cosmos, sunflowers.
One year, I planted a pumpkin vine in a raised bed. It nearly took over my entire yard, but the pumpkins were magnificent. Be aware of how big your plants will get.
Watering Your Raised Bed
Raised beds dry out faster than in-ground gardens. Check the soil moisture daily, especially during hot, dry periods. Stick your finger about an inch or two into the soil. If it feels dry, water.
Water deeply and less frequently rather than shallowly and often. Deep watering encourages roots to grow down, making plants more resilient.
Fertilizing and Soil Care
Raised beds, while starting with great soil, still need nutrients over time. Side dress with compost every spring and throughout the growing season. You can also use organic granular fertilizers or liquid feeds.
I add a fresh layer of compost every spring before planting. It is like a multi-vitamin for my soil and keeps things humming along.
Pest and Disease Management
Good air circulation and healthy plants are your first line of defense. My strategy is simple: healthy soil equals healthy plants. Healthy plants resist pests and diseases better. If you spot a problem, identify it first, then address it with organic solutions.
Hand-picking insects, using insecticidal soap for aphids, or companion planting (like marigolds to deter nematodes) often works wonders.
Weed Control
The beauty of a raised bed is how few weeds you will have compared to an open garden. Any weeds that do appear are usually easy to pull from the loose, rich soil. Mulch helps even more.
A two to three-inch layer of organic mulch (straw, wood chips, shredded leaves) on top of your soil will suppress weeds, conserve moisture, and regulate soil temperature. Plus, it looks tidy.
You have now built a perfect home for your plants. Enjoy your bountiful harvests and the pride of growing your own food. This raised garden bed will bring you joy for years to come.
Frequently Asked Questions
Does a raised garden bed need a bottom?
No, a raised garden bed does not strictly require a solid bottom. I recommend placing cardboard or hardware cloth directly on the ground to suppress weeds and deter pests like gophers. This allows for natural drainage and beneficial organisms to move freely between the ground and the bed.
What should I put in the bottom of a raised garden bed?
You should put a layer of newspaper or cardboard at the bottom to block weeds. After that, I layer coarse organic materials like small branches, leaves, and straw before adding high-quality soil. This method, often called “lasagna gardening,” provides drainage and slowly releases nutrients as it decomposes.
Can you put a raised garden bed on concrete or a patio?
Yes, you certainly can put a raised garden bed on concrete or a patio. In this case, you will need a solid, permeable bottom to allow for drainage and prevent soil erosion. You can use landscape fabric or a layer of gravel at the very bottom, then add your soil mixture on top.